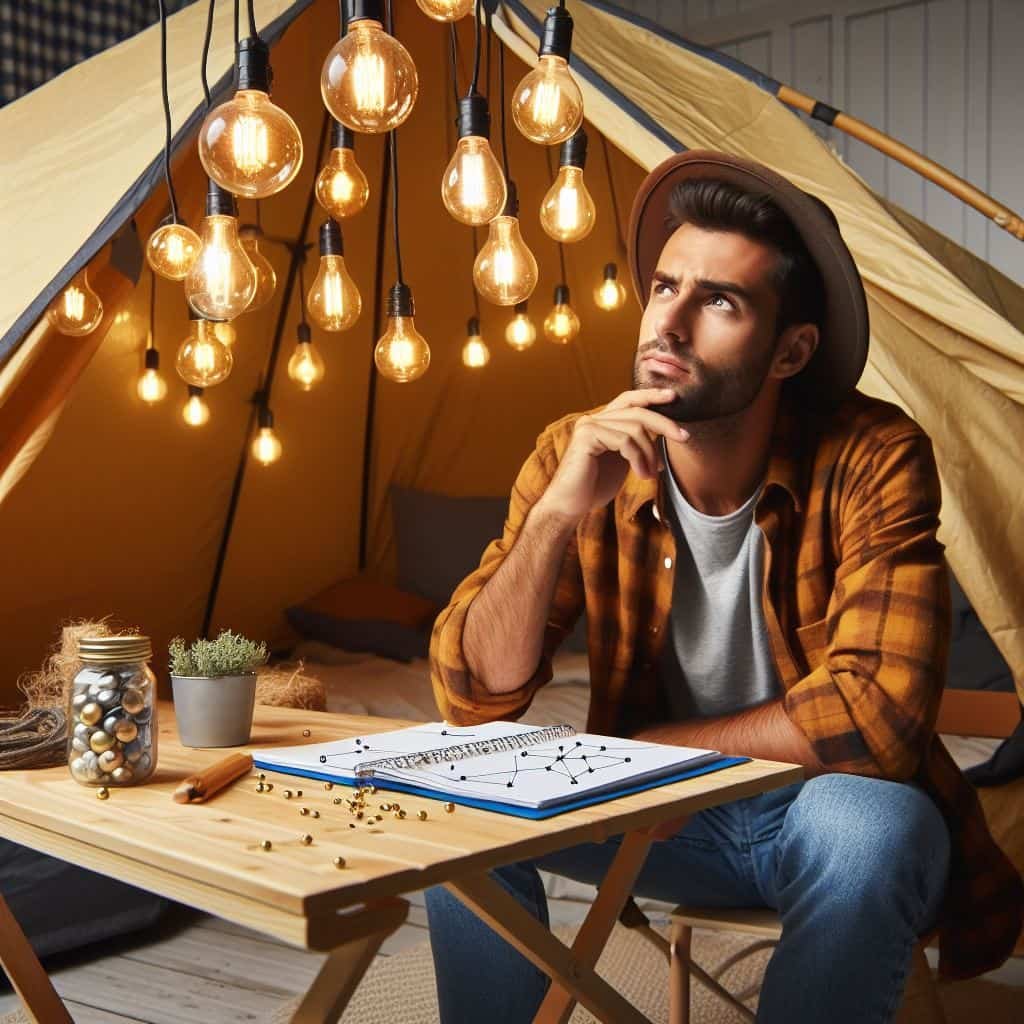
Camping is an exhilarating experience that allows us to reconnect with nature and escape the hustle and bustle of everyday life. However, once the sun sets, a well-lit camping tent becomes essential for safety and convenience. Hanging lights in your tent not only brightens up the space but also creates a cozy and inviting atmosphere. In this guide, we will walk you through the step-by-step process of hanging lights in your camping tent.
Choosing the Right Lights
Before you embark on the task of hanging lights in your tent, it’s crucial to choose the right type of lights. LED lights are an excellent choice for camping due to their energy efficiency, durability, and versatility. Battery-powered LED string lights or lanterns are popular options, as they provide a soft, ambient glow without generating excessive heat.
Materials Needed:
- LED lights (string lights or lanterns)
- Batteries or a power source
- Hooks or carabiners
- String or paracord
- Velcro strips or cable ties
- Tent-friendly clips or magnets
- Tape measure
- Scissors
Step-by-Step Guide
1. Plan Your Layout
Before attaching any lights, decide on the layout of your lighting setup. Consider where you’ll need the most light—whether it’s near the entrance, sleeping areas, or communal spaces.
2. Check Your Gear
Ensure that your lights are in working condition and that you have sufficient batteries or a reliable power source. It’s always a good idea to bring extra batteries in case of emergencies.
3. Choose Attachment Points
Identify suitable attachment points inside your tent. These could include loops, gear loops, or any designated attachment points provided by the tent manufacturer. Avoid placing lights too close to flammable materials.
4. Measure and Cut
Measure the length of your LED lights against the chosen attachment points and cut the string accordingly. Make sure to leave some extra length for adjustments.
5. Attach Hooks or Carabiners
Install hooks or carabiners at the chosen attachment points. These will serve as anchor points for your lights. Ensure they are securely fastened to prevent accidents.
6. Hang the Lights
Gently hang the lights on the hooks or carabiners. If you’re using string lights, try to distribute them evenly to achieve a balanced and well-lit space. If you’re using lanterns, hang them strategically to maximize coverage.
7. Secure with Velcro Strips or Cable Ties
For added stability, use Velcro strips or cable ties to secure the lights along the tent’s seams or support poles. This will prevent the lights from sagging or falling in case the hooks or carabiners become loose.
8. Use Tent-Friendly Clips or Magnets
Tent-friendly clips or magnets can be handy for securing lights to the tent’s fabric without causing damage. Attach these to the sides or ceiling of the tent to keep the lights in place.
9. Test the Setup
Before settling in for the night, test your lighting setup to ensure everything is working correctly. Make any necessary adjustments to achieve the desired brightness and coverage.
10. Consider Safety Precautions
Always prioritize safety when hanging lights in your tent. Avoid using lights that generate excessive heat, and never leave them unattended. If you’re using a power source, make sure it’s placed in a safe and dry location.
Conclusion
Hanging lights in your camping tent can transform a dark and unfamiliar space into a warm and inviting retreat. With careful planning and the right materials, you can create a well-lit environment that enhances your camping experience. Whether you’re reading a book, playing games, or simply enjoying the company of friends and family, a thoughtfully lit tent adds an extra layer of comfort to your outdoor adventure. So, gear up, follow these simple steps, and illuminate your camping nights with the magic of light.


Leave a comment
You must be logged in to post a comment.