A warm summer night, a light breeze, and the soft glow of outdoor lights make your yard feel like a magical place. But all of a sudden, one of the lights flickers and goes out, stopping the magic. Getting angry starts, but don’t worry! We’ll go on a journey in this guide to get your outdoor place sparkling again. Take off your hats, get your tools, and let’s bring those lights back to life with a little care and some know-how.
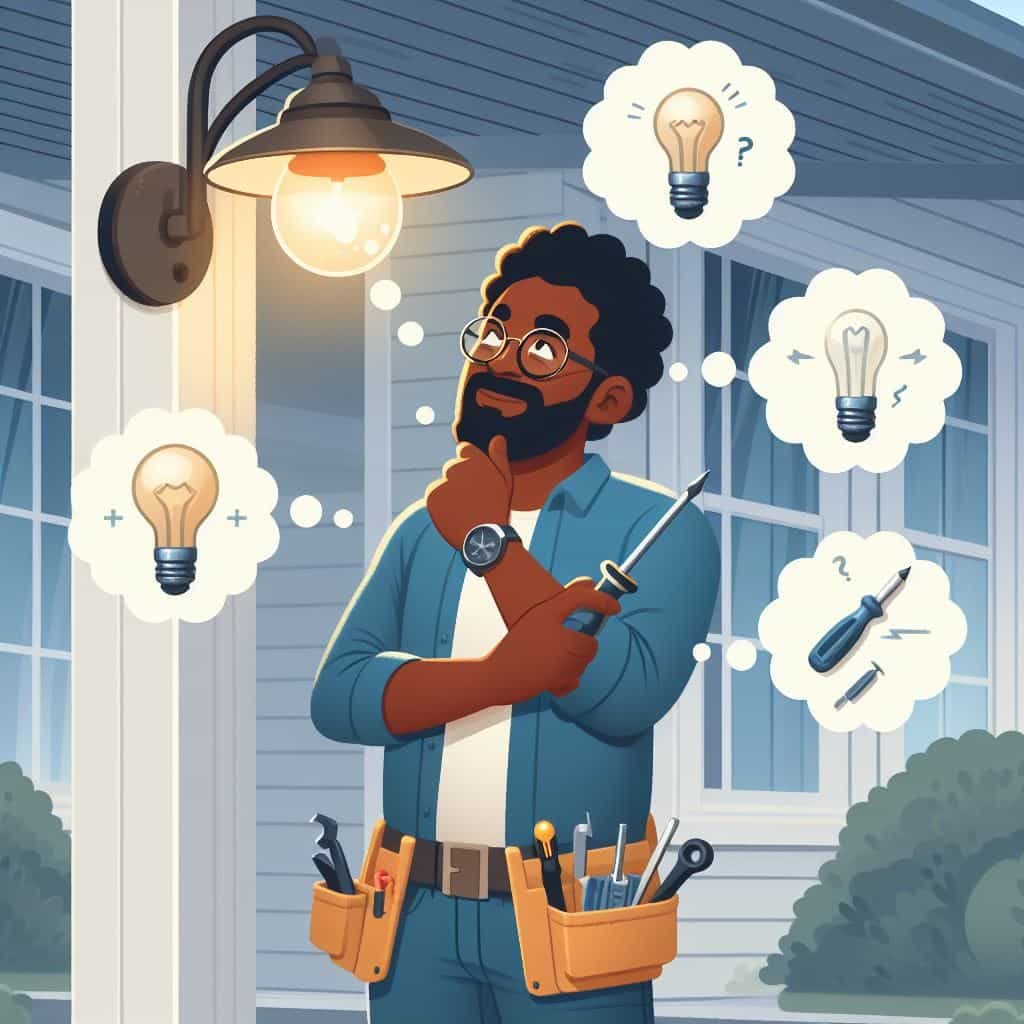
Step 1: Figuring out what’s wrong
Let’s take a moment to figure out what might be causing the delay before we start fixing it. Should I just change the bulb, or is there a more serious wiring issue? First, look at the lights. Sometimes, all that’s needed is to screw in a new one. Now is the time to get deeper into the heart of your outdoor lighting setup if that doesn’t work.
Step 2: Why a Full Inspection Is Important
Bring out the spy in you! To make sure everyone is safe, turn off the power to the outdoor lights first. After that, check the whole lighting setting. Find any signs of wear and tear, like wires that are coming loose or plugs that are broken. It’s sometimes the little things that hold the key to fixing the problem. It could be a line that has become frayed from the weather or a socket that has corroded over time.
Step 3: Fix the wires and reconnect the heart strings
Your outdoor lighting system’s main parts are the wires. They send the life force to each bulb, which turns it on. It’s time to do some surgery if you find any loose or broken lines while you’re checking. Carefully cut off the damaged part of the wire, then put it back together and secure it with waterproof connectors. Take extra care with those lines because they carry the electricity that lights up your outdoor space.
The fourth step is to shed light on socket solutions
If your outlets are broken, your outdoor lights may not shine as brightly. Some rust or corrosion might be present. Use a small wire brush or sandpaper to clean the holes. Once they’re bright again, put the lights back together. In situations where the sockets can’t be fixed, it’s easy and effective to replace them. Remember that giving your joints a little extra care can help them glow for a long time.
Part 5: Lighting the Way with New Light Bulbs
Oh, how easy it is to change a bulb! If the outside light no longer shines brightly, take out the old bulb and put in a new one. Choose LED lights because they use less energy and last longer. It’s a small thing that can have a big effect on the atmosphere outside.
Step 6: To be safe, check the power source
Your lights’ power source is their most important part. Whether it’s a solar panel or a specialized electrical circuit, make sure it works right. A voltmeter should be used to check the power source to make sure there is a steady flow of electricity. When working with solar lights, make sure the panels are clean and getting enough sunlight. Your outdoor lights will stay bright as long as the power source is healthy.
Step 7: The Power of Preventation: Sealing Off the Weather
People often say that the best way to treat something is to stop it from happening in the first place. Weatherproofing your outdoor lights will keep them safe from the weather. To protect the connections and plugs from rain and moisture, use a silicone-based sealant. This small but important step can make your outdoor lighting system last a lot longer.
Conclusion
Now that we’ve talked about how to fix outdoor lights, remember that every flicker and failure is a chance to give your outdoor space a new lease on life. With each repair, you’re not just fixing lights; you’re taking care of the soul of your yard. So embrace the process with love and patience. If you want your outdoor space to continue to charm and inspire you night after night, let the light shine.


Leave a comment
You must be logged in to post a comment.