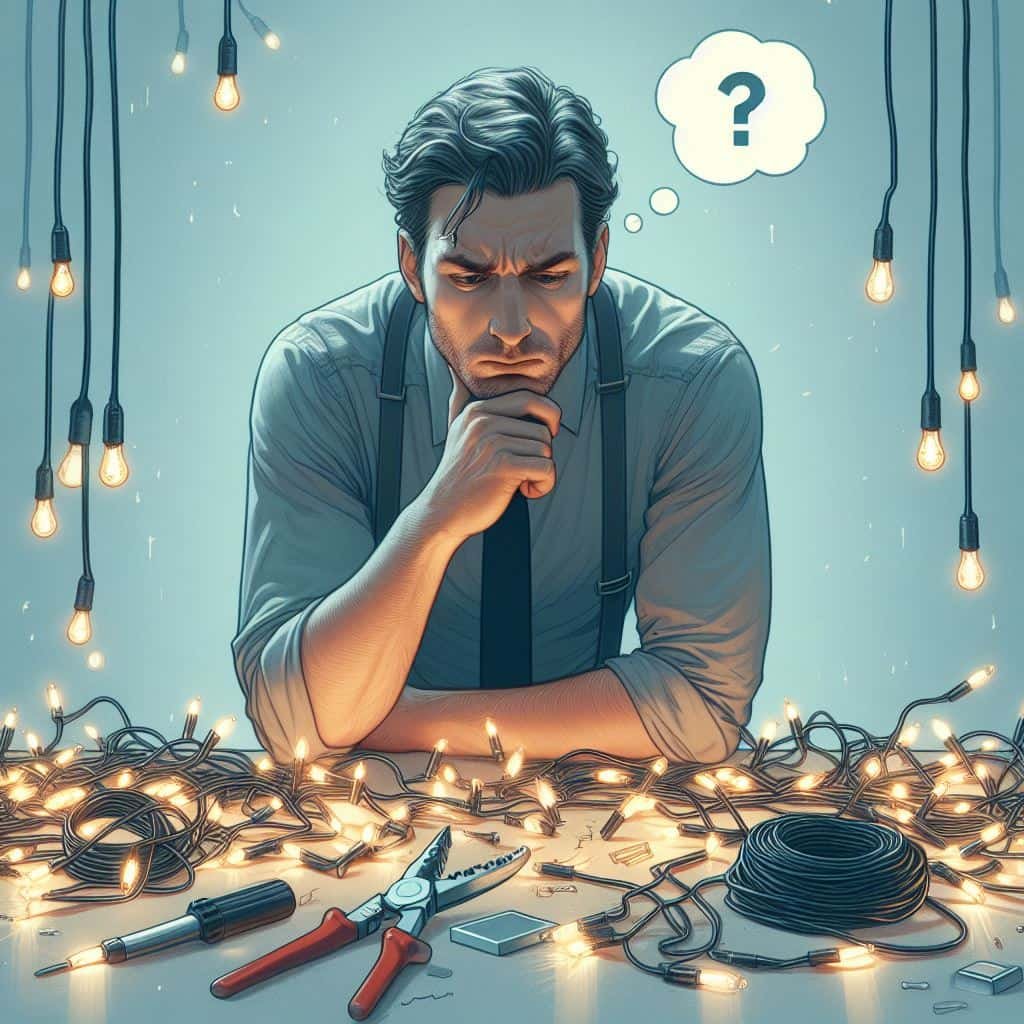
The glowing beauty of fairy lights makes any room feel magical. Even so, these thin strings of lights are easily broken, and a broken wire can quickly make them less bright. Fairy light wires can be easily fixed without needing advanced electrical knowledge. This article will show you how to bring back the magic and life to your fairy lights, step by step.
Materials Needed
- Replacement Wire: You can find this at your local hardware or craft store. Ensure it matches the gauge of the existing wire.
- Wire Strippers: To strip the insulation from the broken ends of the wire.
- Soldering Iron and Solder: For a more permanent and secure fix.
- Heat Shrink Tubing or Electrical Tape: To insulate and protect the repaired area.
- Scissors: To cut the heat shrink tubing or electrical tape.
- Small Phillips Screwdriver: If your fairy lights have detachable bulbs.
1. Priority to Safety
The fairy lights should be unplugged from the power source before any repairs are applied. Keeping you safe during the fixing process.
2. Identify the damaged wire
Examine the whole length of the fairy lights carefully to find the broken wire. Keep an eye out for any damage or wear that you can see.
3. Take away the power
If your fairy lights have a plug that you can take off, unplug it from the energy source. To keep from getting electrical shocks during the fix, this step is mandatory.
4. Take out bulbs (if needed)
For easier access to the wires, take out any bulbs on your fairy lights that can be taken off. If necessary, use a small Phillips screwdriver to take the lights off.
5. Cut off the last bit of the broken wire.
Carefully remove about 0.5 inches of insulation from both ends of the broken wire using wire pliers. Make sure the bare wire is clean and doesn’t have any torn or broken strands.
6. Get the replacement wire ready.
Create a new piece of wire that is the same length as the stripped part. Ensure that the gauge of the new wire matches that of the old wire so that the link works properly.
7. Soldering (Optional but recommended) Soldering
Additionally, if you know how to solder, this step makes the link safer. By heating the soldering iron and applying solder to the wire ends that are showing, you can join the broken wire to the new wire. Relax and let it harden.
8. Keep the connection from freezing.
Keep the wires from touching the mended area by covering it with heat shrink tubing or electrical tape. Heat the heat shrink tube with a hair dryer or heat gun until it fits tightly over the soldered area. Wrap the mended area tightly with electrical tape if you’re using it.
9. Replace the bulbs (if you took them off).
Reattach bulbs firmly if you took them off earlier. Ensure that the bulbs are put in securely so that the connections don’t come loose.
10. See how the lights work.
After fixing the lights, plug them back into the wall and see if they come on. The lights should work after double-checking the connections and making sure everything is in place firmly.
11. Safeguard Loose Wires
Take care of any lines that are hanging or not attached properly by using cable ties or clips. Keeping the fairy lights looking neat and preventing further damage is helped by this.
12. Final Checkup
Double-check that your fixed fairy lights are working properly by going over them one last time. Inspect for any lines that are sticking out or connections that aren’t tight enough.
Conclusion
For those who want to do it themselves, fixing a broken wire on fairy lights is easy and lets you enjoy the magical atmosphere they create. As long as you have the right tools and are patient, you can bring your fairy lights back to life and keep making the room feel warm and joyful. Prioritise safety, and if you feel unsure about any step, don’t be afraid to ask someone with more electrical work experience for help.


Leave a comment
You must be logged in to post a comment.